npm install body-parser아래처럼 콘솔창에 나오면 설치완료

미들웨어 사용
const bodyParser = require('body-parser');
app.use(bodyParser.urlencoded({extended : true}));
get 방식을 사용할때 title과 date를 console로 찍어보자 .
app.post('/add',(req, res) => {
    //console.log(req);
    console.log(req.body.title);
    console.log(req.body.date);
    res.send('전송완료');
})
nodemon webserver.js 으로 서버 실행하고
아래와 같이 테스트 랑 20221111입
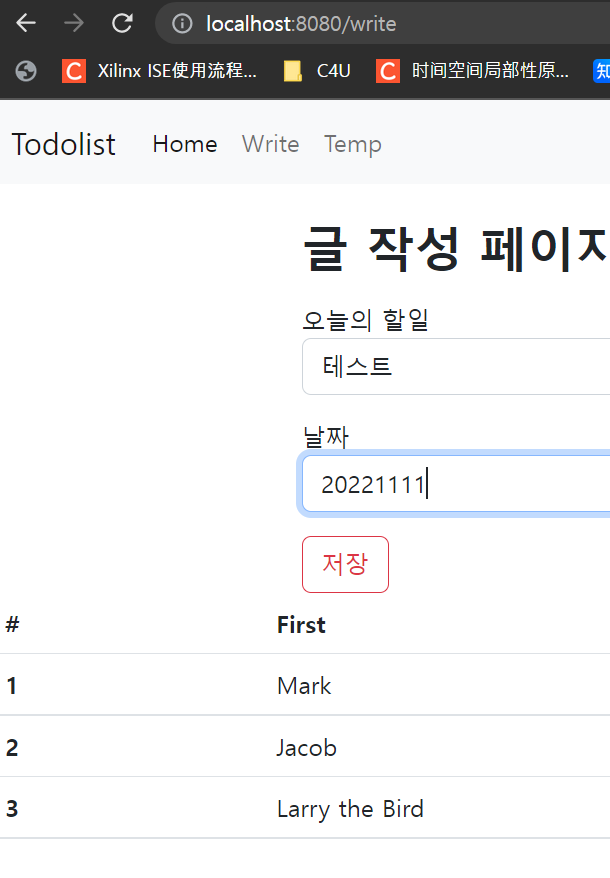

console.log(req.body.title);
console.log(req.body.date); 가 성곡적으로 출력 됨

webserver.js 전체코드
const express = require('express');
const app = express();
//app.use : 미들웨어
const bodyParser = require('body-parser');
app.use(bodyParser.urlencoded({extended : true}));


//설정할수 있는 port : 65535종류
//누군가가 /webtoon 방문하면 웹툰 관련 안내문을 띄워주자
//라우터 get.post


app.get('/game', function (req , res) {

    res.send('게임을 서비스해주는 페이지입니다.');

})


app.get('/webtoon', function (req , res) {

    res.send('웹툰을 볼수 있는 페이지입니다.');

})

app.get('/', function (req , res) {

    //res.send('홈입니다.');
    res.sendFile(__dirname + '/index.html');

})

app.get('/write', function (req , res) {

    //res.send('홈입니다.');
    res.sendFile(__dirname + '/write.html');

})

//add 경로 post 요청 (write.html)
app.post('/add',(req, res) => {
    //console.log(req);
    console.log(req.body.title);
    console.log(req.body.date);
    res.send('전송완료');
})

app.listen(8080, function() {

    console.log('listening on 8080');

});
MySql 사용법 및 Mysql NodeJs 연결
https://piaocanyi.tistory.com/313
WAMP stack (mysql 확인 및 사용법)
mysql > bin > cmd에서 mysql bin폴더로 이동 mysql 입력 mysql -uroot -p mysql 접속완료 show databases; 새로운 database 생성 create database node_db default character set utf8; 조회 show databases; 방금 생성한 db 사용하기 use node
piaocanyi.tistory.com